
Hello friends, welcome back. In this tutorial, I’ll be teaching React Js environment setup on Windows, Mac or Linux in under 15 minutes.
Now before getting started it is recommended to have Node Js installed on your system.
Table of Contents
Why Node Js?
Node is an open-source runtime environment for javascript. To work with React Js, we need to install node js on our system. This will help us to create and build our node application.
If it is not yet installed on your system, no worries, keep reading and I’ll walk you through Node installation and later we will start with React installation.
Now, before going into React Js environment setup, I would like to provide you with some information about React Js.
React Js is an open-source javascript library which is used for building user interfaces. It was developed and maintained by Facebook but now it is open-sourced.
Example react code
|
1 2 3 4 5 6 7 8 9 10 11 12 13 14 15 16 |
class HelloWorld extends React.Component { render() { return ( <div> Hello, World! </div> ); } } ReactDOM.render( <HelloWorld />, document.getElementById('root') ); |
NodeJS Installation
Now, let’s start with NodeJS installation. If this is already installed on your system, you can skip this part and read from here.
We need to follow these steps to install node in our machine.
- Download and Install NodeJS
- (For Ubuntu/Linux) Setup NPM
- Get your favourite code editor
Node on Windows/MAC
Head over to the official website of Node and download the LTS version of Node on your Mac or PC.
Node on Ubuntu
For Linux users (Debian based), you can install Node using the below command.
sudo apt install nodejs
Once the installation is complete, you can check it using the command node -v.
You are also going to need NPM for installing other packages.
To install NPM, run the following command
sudo apt install npm
Once the installation is completed, you can check it using the command npm -v. Node and NPM will be successfully installed on your machine.
Configuring Node on Mac and PC
Now, coming to Mac and PC users. You guys can install Node using the native installer which can be downloaded from the official website of Node.
Visit Node’s official website and download the LTS version of Node. Once downloaded, you can easily install the Node with the help of the installer.
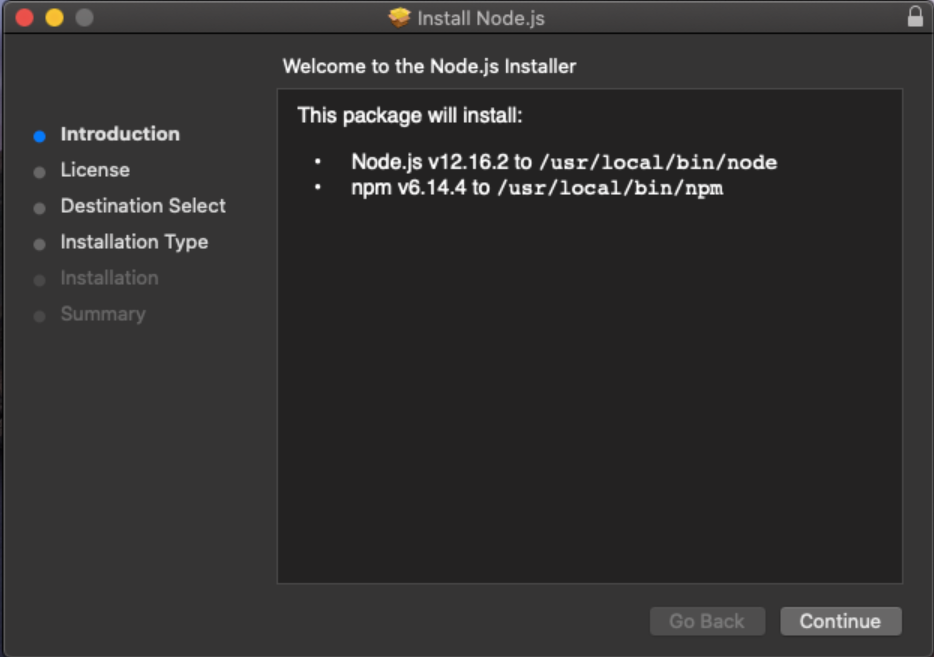
Once downloaded, you can see a screen something similar to this.
Note: These screenshots are from my Mac but don’t worry if you are on PC. The windows installer will also have screen something similar to this.
Next, enter your administrator password when prompted.
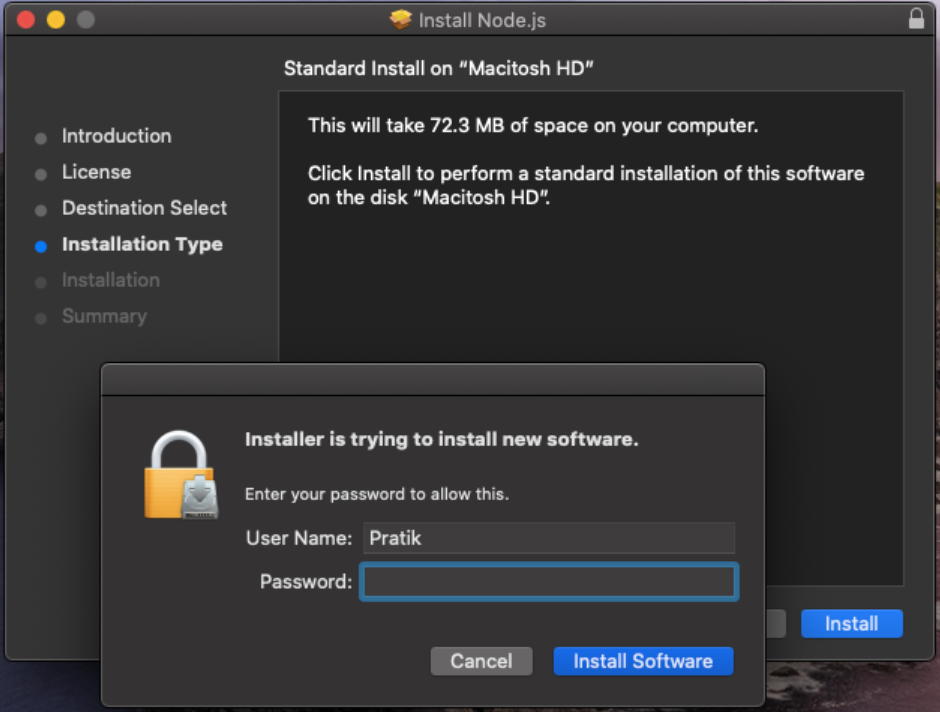
This will install Node Js and NPM on your Mac (or PC) and you are now ready for React js environment setup.

But before setting up React, it is necessary to set up your text editor to write your react code.
Setting up Text Editor for React Js
Next step is to install a text editor to write your React Js code. One text editor which I use is Visual Studio Code or VS Code.
It is very powerful and one of the most popular text editor at present and it is free of cost and one more thing, this text editor is available for all the OS.
Downloading and installing VS Code
To download the VS Code, visit code.visualstudio.com and download the installer from there for your OS.
Install the text editor in the same way you install any other software.
Once done, you can start writing code on this text editor. This text editor works directly out of the box and you don’t need to configure anything.
For additional functionalities, you can install various extensions available for free and enhance the features.
One of the best extension for React Js is ES7 React/Redux/GraphQL/React-Native snippets by dsznajder.
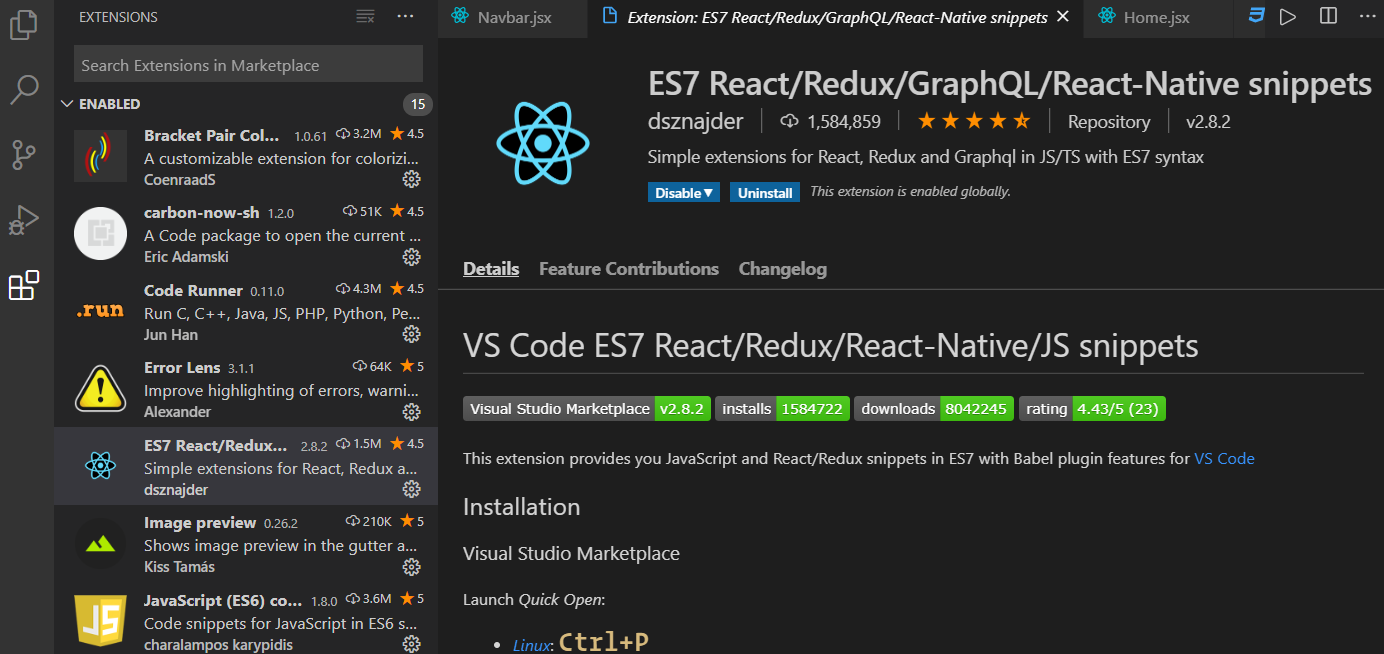
Install this extension and this is going to help you a lot while writing React Js code.
React Js environment setup on your system
Now its time to install and setup our React app. To setup React on your system, you can open your terminal and write the following command.
npx create-react-app your-app-name
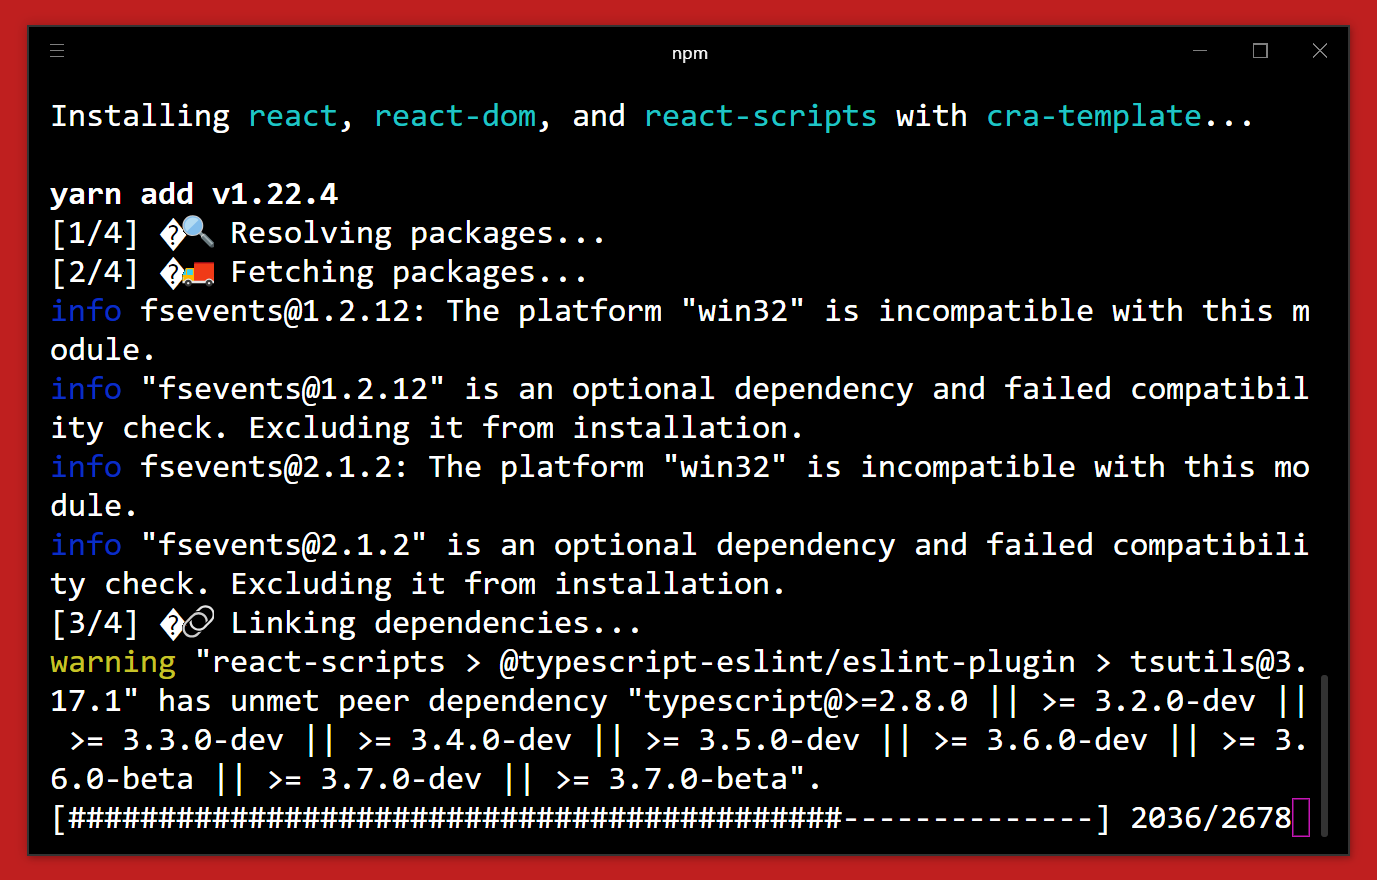
cd your-app-name
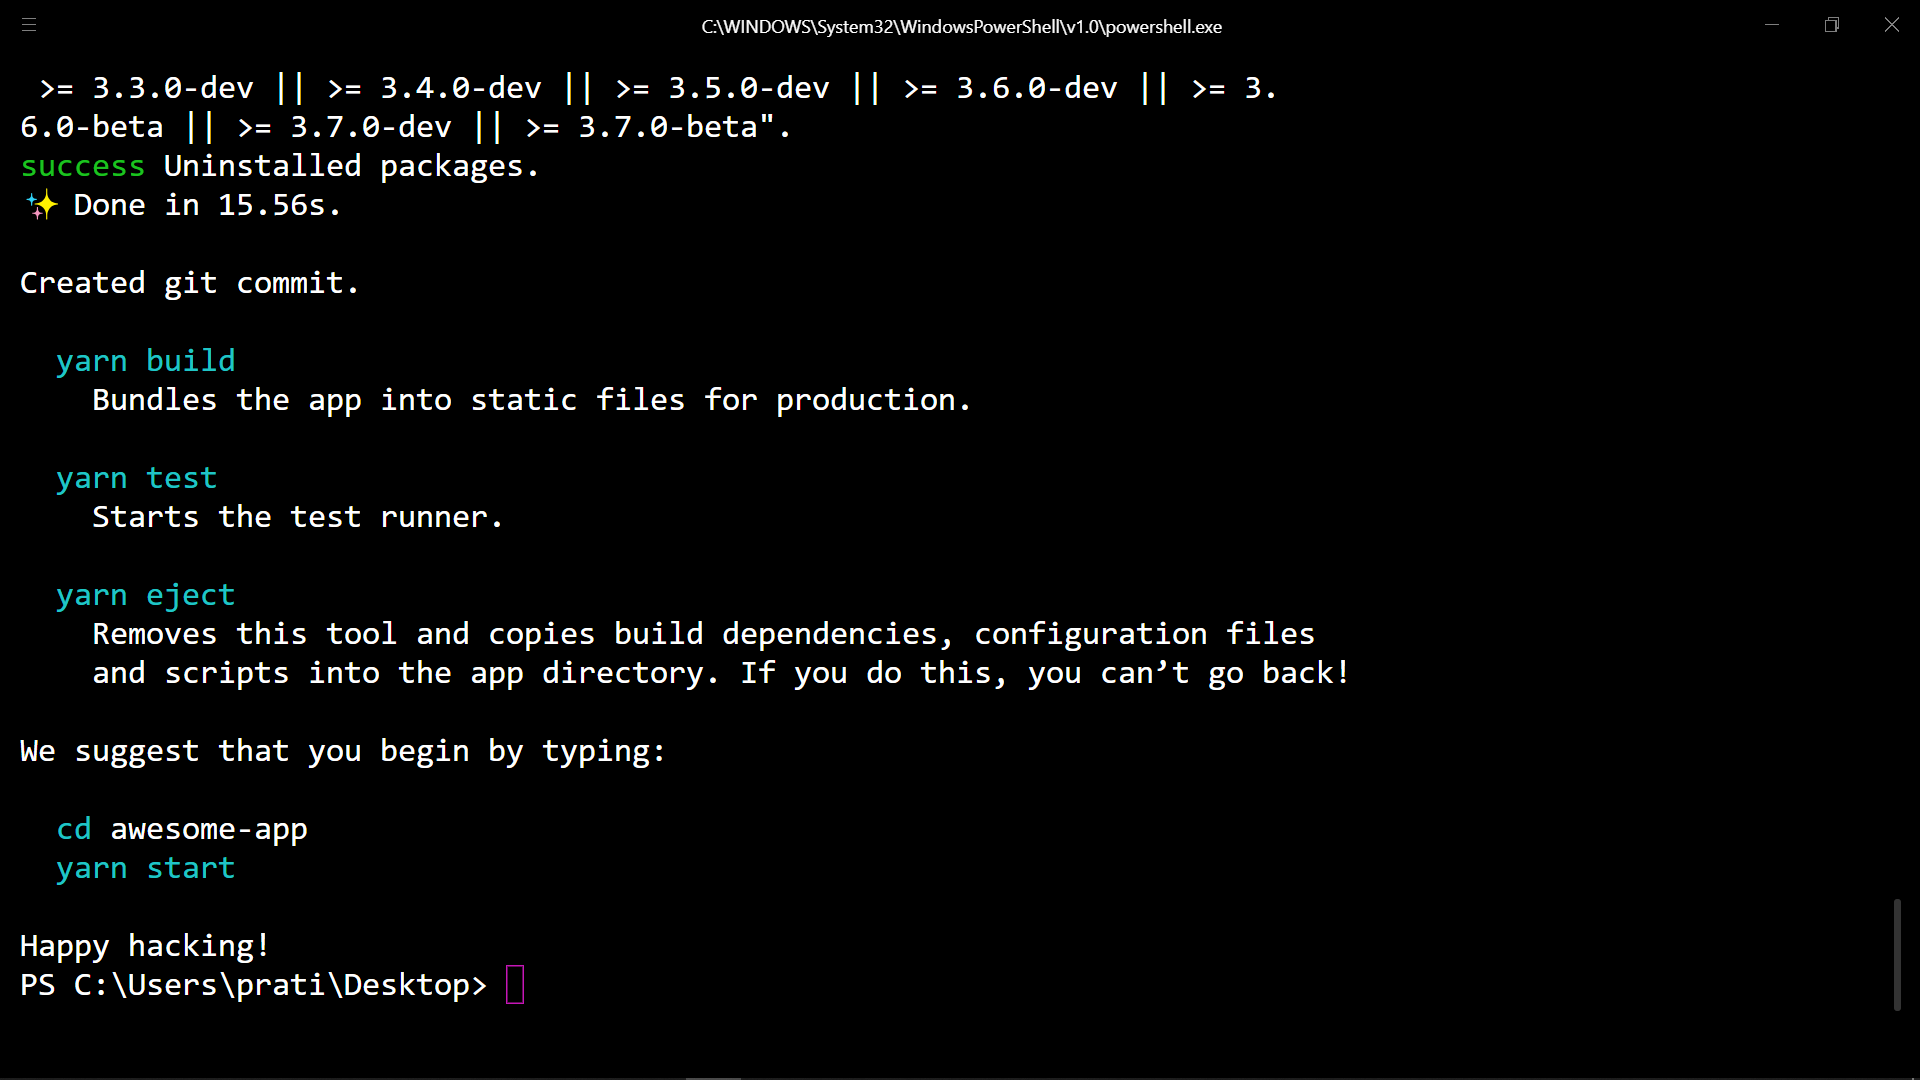
npm start
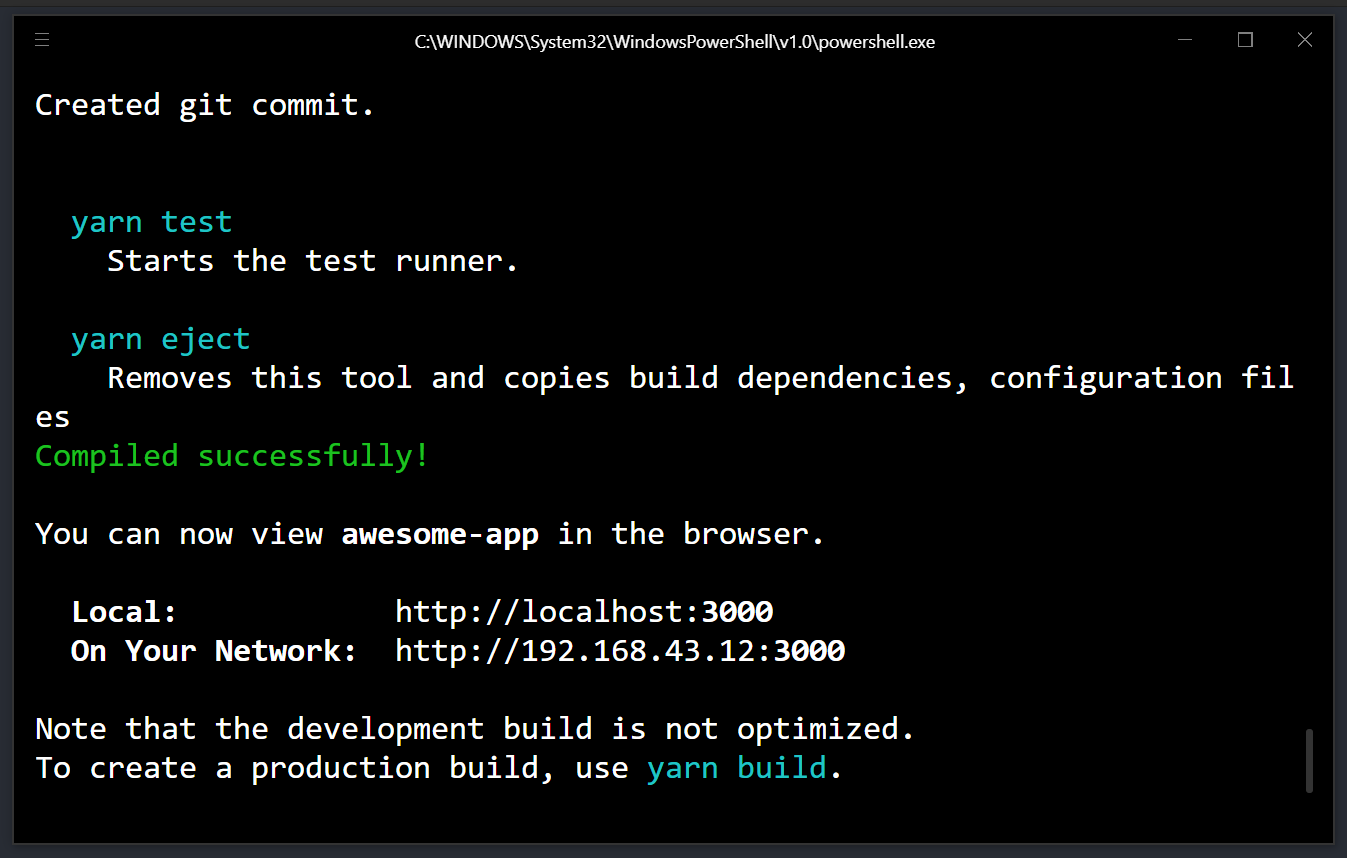
Then open http://localhost:3000/ to see your app.
Note: These commands can be executed on any OS.
Now, you might be thinking “What is this npx?”. You can know more about npx here.
Once you are inside your project folder, you can now start working on your react project.
Cloud-based Solutions
This was the way to install and use React to your system. If you want to work locally, it’s fine.
But if you want to work online without the tension of installing anything, you can always work on some cloud-based IDE’s.
Codesandbox.io
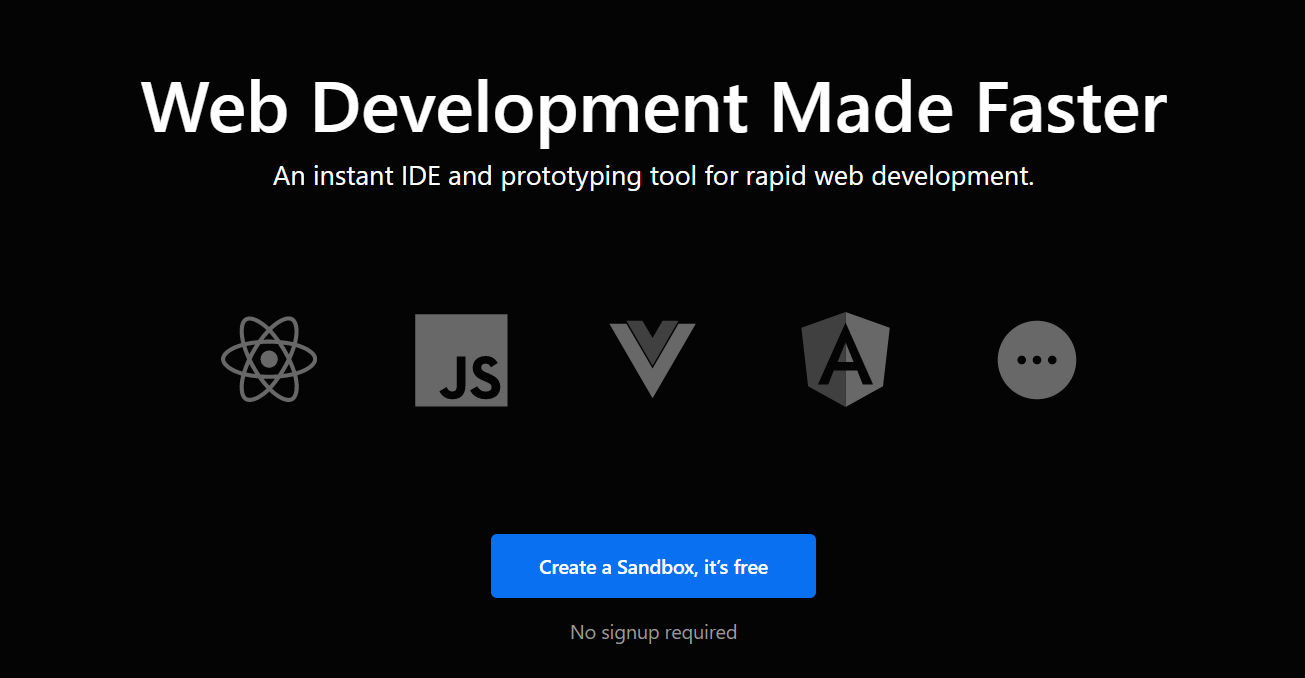
One of the best options which are also free is codesandbox.io
Simply open this link in a new tab, log in using your GitHub account and there you can create your new React app and you can easily work online.
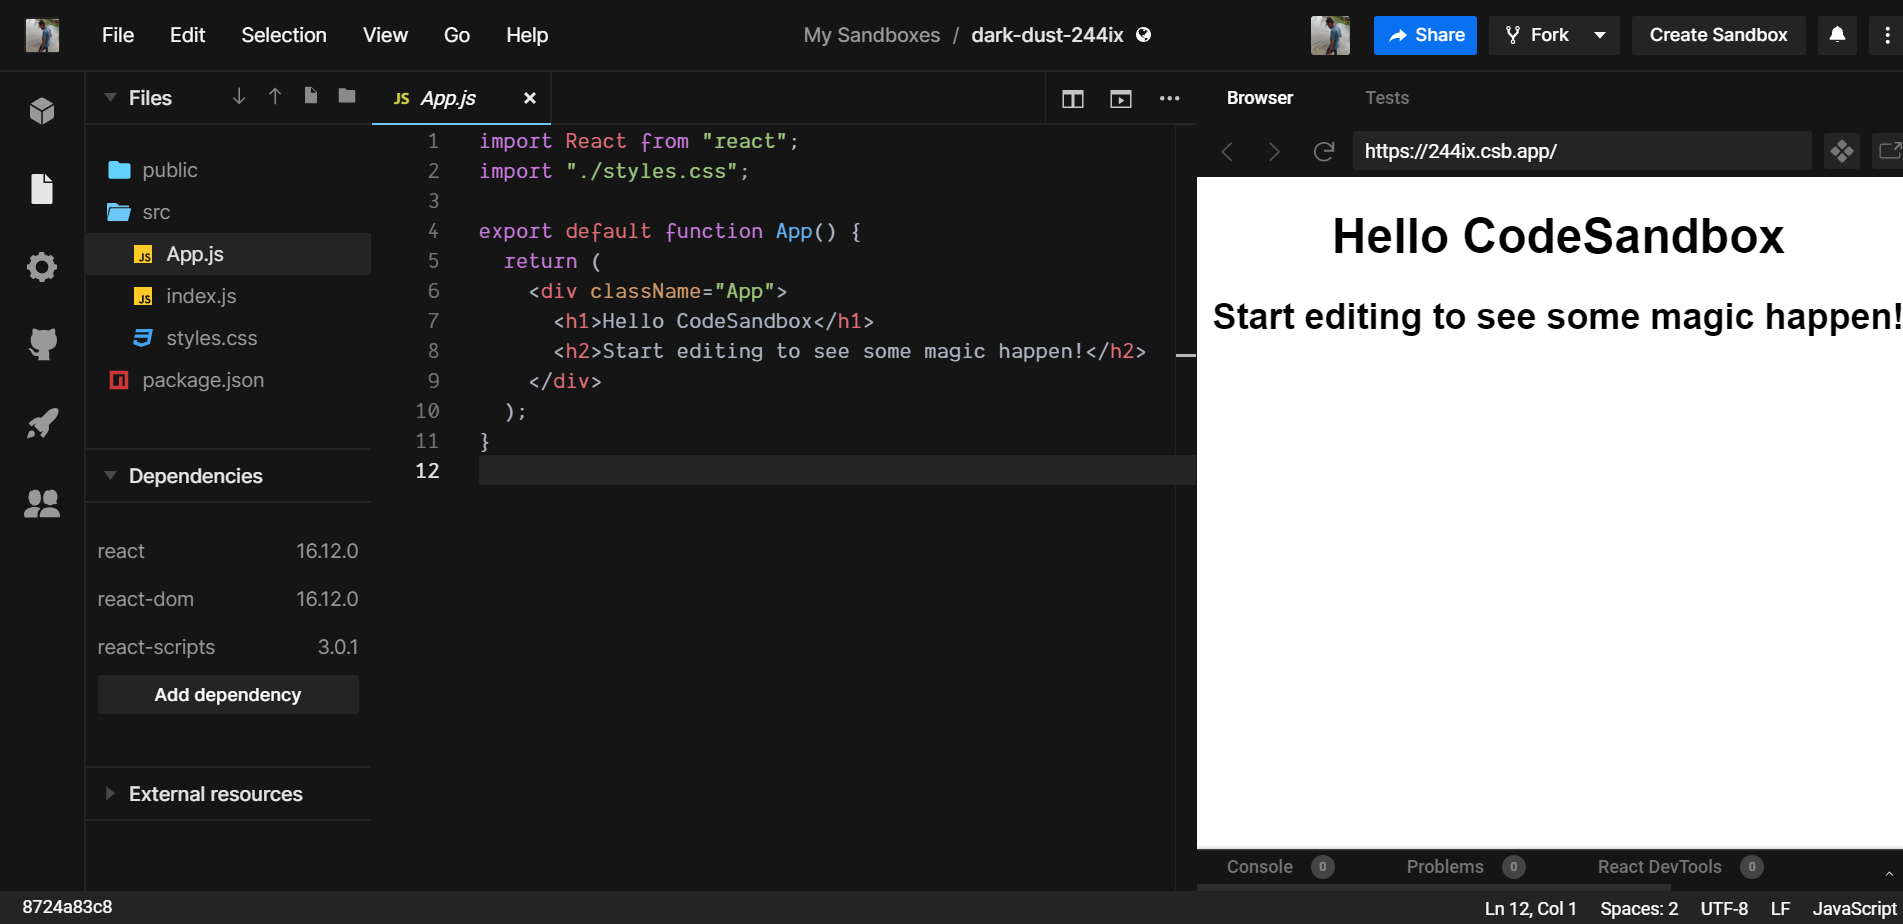
The best part of this online service is you can also share your output URL to your friends of colleagues and you can also download your files or you can even collaborate with your other colleague in real-time.
Since you are done with the installation and setting up part, we can now create a new react app and see it in action.
Hello, World! app in React Js
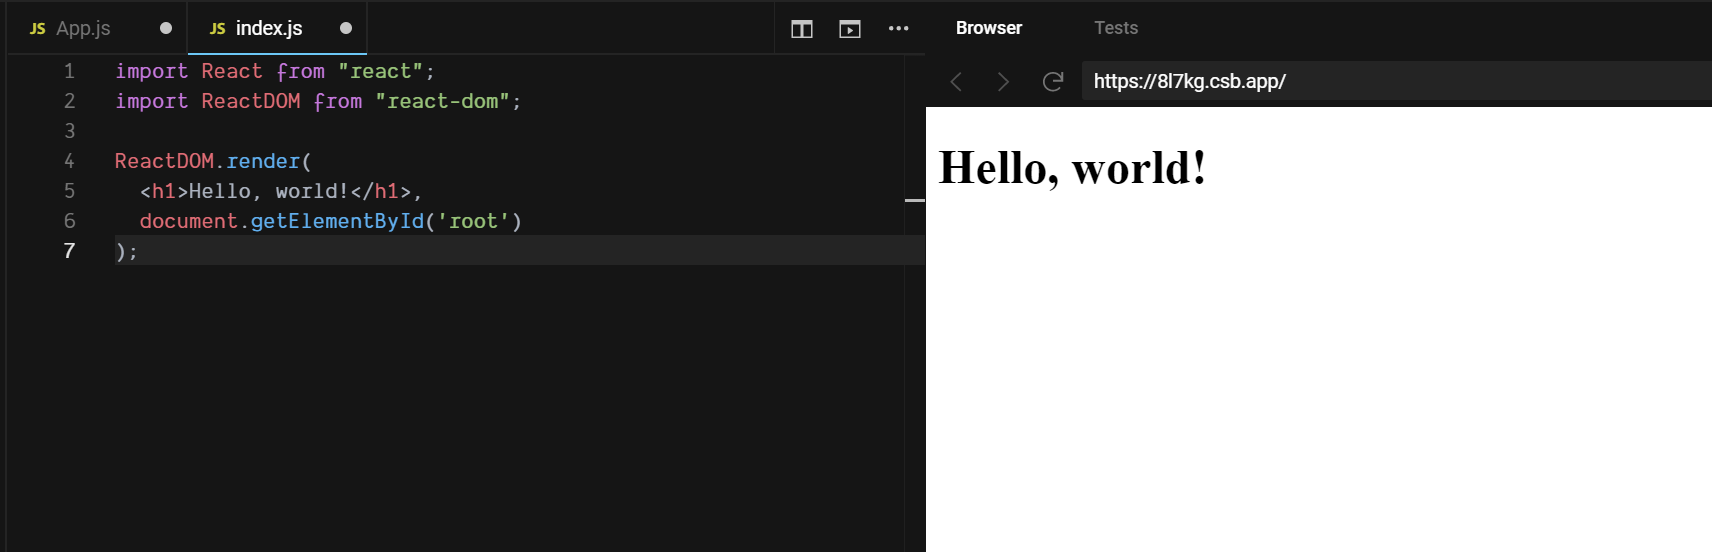
Let’s try to edit this file and make a Hello, world! app. Open your project directory in VS Code and go to src directory and select index.js and paste the below code.
|
1 2 3 4 5 6 7 8 9 |
import React from "react"; import ReactDOM from "react-dom"; ReactDOM.render( <h1>Hello, world!</h1>, document.getElementById('root') ); |
No need to change any file. Just edit the index.js file and then restart your server by pressing r in your terminal.
Go to http://localhost:3000
You will see your Hello, World! app running.
Conclusion
Well, this was all about React Js environment setup. I hope you guys have liked 😊 this post. If you stuck into any kind of error 😩, don’t forget to google it and try to debug it on your own.
This will teach you how to debug on your own as someone might have faced a similar problem earlier.
If you still don’t find any solution for your problem, you can ask your doubt in the comment’s section below and we’ll get back to you.
This was all for this post. Thanks for your time and keep learning. Take care and enjoy coding.


